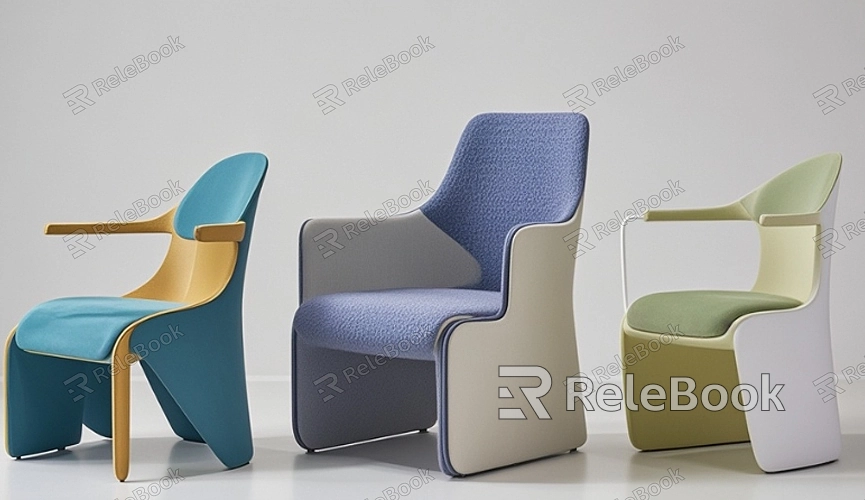
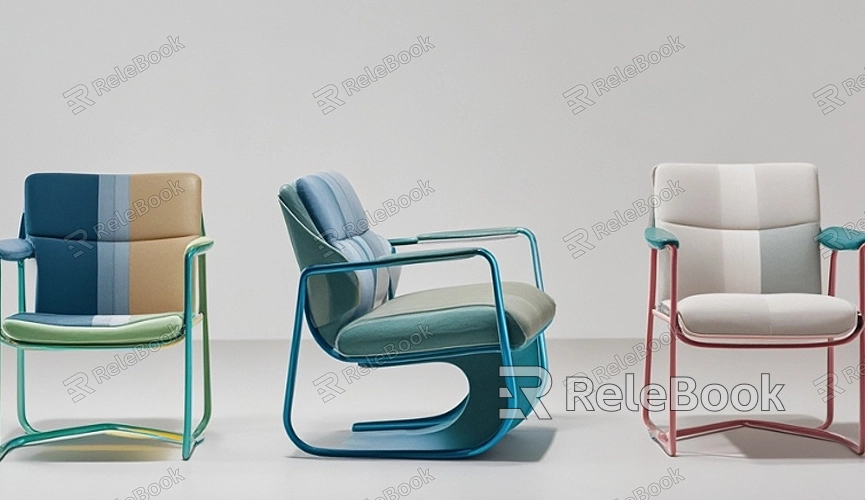
How to Model a Chair in SketchUp?
SketchUp is a powerful and user-friendly 3D modeling software widely used in architecture, interior design, and product modeling. With SketchUp, you can easily create various 3D models, including furniture like chairs. For beginners, learning how to model a chair in SketchUp not only enhances your modeling skills but also helps you become more familiar with the software's operations. This article will provide a detailed guide on how to model a chair in SketchUp, making it easy for you to get started and complete your first chair model.

Setting Up the Workspace and Basic Tools
Before starting the modeling process, you need to set up SketchUp’s workspace. After opening SketchUp, choose an appropriate template, such as “Architectural Template – Metric” or “Product Design Template,” depending on your needs. Then, familiarize yourself with the basic tools like the Line, Rectangle, Circle, and Push/Pull tools, as these will be frequently used throughout the chair modeling process. You can also speed up your workflow by using keyboard shortcuts, such as holding down the “Shift” key to lock direction or pressing the “Space” key to quickly switch to the Select tool.
Drawing the Chair Seat
The chair seat is the foundational part of the model. Use the Rectangle tool in SketchUp to draw a rectangle of appropriate dimensions, representing the chair seat. Typically, a chair seat measures about 40cm x 40cm, though you can adjust this according to your requirements. After drawing the rectangle, use the Push/Pull tool to extrude the rectangle to a thickness, usually between 3-4cm.
Next, you can add some details to the seat, such as chamfers. Use the Offset tool to create an inset rectangle within the seat’s perimeter, then use the Push/Pull tool to slightly lower this inset area, giving the seat a more comfortable appearance.

Creating the Chair Legs
Modeling the chair legs requires precision to ensure symmetry and uniformity. First, select one corner of the seat’s underside, and use the Rectangle tool to draw the cross-section of a chair leg. The leg cross-section is usually square or circular, with dimensions set to 4cm x 4cm or a 4cm diameter circle. Then, use the Push/Pull tool to extrude the cross-section downward to the desired height, such as 45cm.
To copy and align the four legs, you can use the Move tool combined with the “Ctrl” key (on Mac, use the “Option” key) to drag and copy the leg to the other three corners. To ensure accurate positioning, you can use the Tape Measure tool or guidelines for precise alignment.
Drawing the Chair Backrest
The backrest is a crucial part of the chair’s comfort. Start by selecting the rear edge of the seat and use the Rectangle tool to outline the backrest. Then, use the Push/Pull tool to extrude the backrest to a suitable height. Typically, the height of a chair backrest ranges between 30cm and 50cm.
To make the backrest more ergonomic, you can use the Arc tool to draw a curved outline at the top of the backrest and then use the Push/Pull tool to remove the excess material. This creates a natural curve at the top, enhancing the chair’s comfort.
Adding Armrests (Optional)
If you want to make the chair more comfortable, you can add armrests. Start by selecting a point on the side of the seat and use the Rectangle tool to draw the cross-section of the armrest. Then, use the Push/Pull tool to extrude it to the appropriate height, usually slightly lower than the top of the backrest. You can also add rounded edges to the top of the armrest using the Offset and Push/Pull tools to enhance aesthetics and comfort.
Once one armrest is complete, you can use the Move tool to copy it to the other side of the chair, ensuring that both armrests are symmetrical and at the same height.
Refining Details and Adding Textures
After completing the overall chair structure, you can start refining the details. Use the Soften Edges tool to smooth out any sharp edges, particularly those that may affect comfort. You can also use the Paint Bucket tool or Material tool to apply textures to the chair, such as wood, metal, or fabric. These textures not only enhance the model’s realism but also prepare it for rendering and presentation.
Checking and Exporting the Model
Once the modeling is complete, carefully check all parts of the chair to ensure they meet your expectations. Ensure that all components are aligned and proportioned correctly. If any issues are found, you can use the Scale and Rotate tools to make adjustments. Finally, save the model as a SketchUp file or export it in other formats (such as STL) for use on other platforms or for 3D printing.
By following the steps outlined above, you now know how to model a chair in SketchUp. From setting up the workspace, and drawing the seat and legs, to creating the backrest and armrests, you can now create a complete chair model. Finalizing the details and adding textures will make your model even more realistic and vibrant. Now, you can apply these techniques to other furniture modeling projects, further enhancing your design skills. For more high-quality 3D models and textures, visit the Relebook website to download a wide range of resources that will help you improve your modeling skills.
FAQ
How can I add more details to my chair model?
You can enhance the details by adding armrests, decorative elements on the backrest, and using a variety of materials. Additionally, SketchUp plugins like the Round Corner or Sculpt tools can help you add intricate details.
My chair model has size discrepancies when printing. How can I fix this?
Make sure you’re using the correct unit settings during modeling, and choose the appropriate scale when exporting the file. If the problem persists, use SketchUp’s Tape Measure tool to recalibrate the model dimensions.
How do I import my chair model from SketchUp into other software?
You can export the model in common formats such as STL, OBJ, or 3DS, which are supported by most 3D modeling software. Ensure the model is cleaned up and checked for any issues before exporting.

